

Although, the final version of Windows 10 is still under development,
but the Windows 10 lovers can easily download
and use Windows 10 Technical Preview on their machine. It requires almost
same configuration that was required for earlier versions of Windows.
In Windows 10, you can find tons of brand new features as well as many enhancements. When it comes to new features, Task View button, Virtual Desktop etc. step in. Even though, Windows 7 has Start Menu that is very helpful, but, in Windows 8 and Windows 8.1, Microsoft had lifted that.
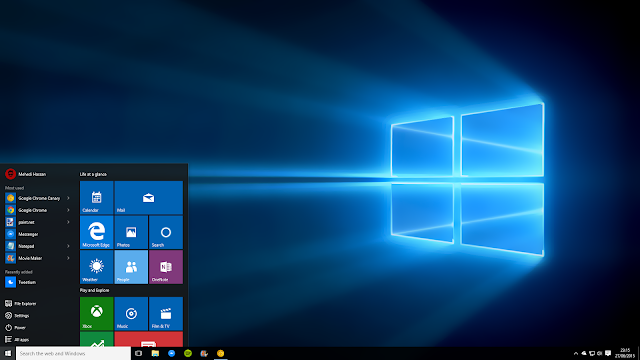
If you have used Windows 8 or Windows 8.1, you might have noticed the Metro Screen or a brand new Start Screen. This start screen has different things, including live tiles to be updated with current affairs, Power Button (in Windows 8.1), installed software list and many more. In simple line, this is very operative – just like Windows 7’s Start Menu button.
Conversely, in Windows 10 Technical Preview, Microsoft has introduced enhanced Start Menu button. This Start Menu can do numerous things. However, if you think that this Start Menu is not up to the mark and you want to switch to Metro Screen again, here is a tutorial that will help you to enable Start Screen and remove Start Menu button completely from Windows 10.
How to Enable Start Screen in Windows 10

At first, right-click on the empty place of your Taskbar and click on
“Properties”.
It will open “Taskbar and Start Menu Properties”. Then, go to “Start
Menu” tab and remove the tick that is positioned before “Use the Start menu
instead of the Start Screen”.
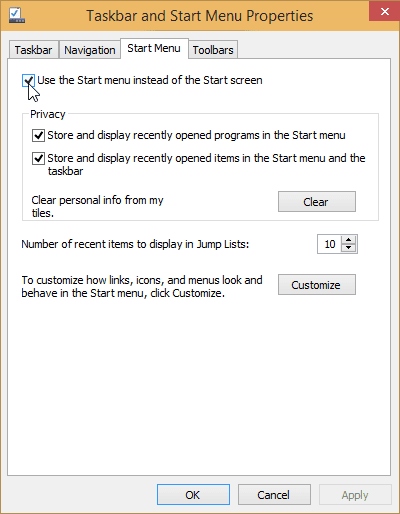
After removing the tick, click on “Apply”. Now, you will have to
re-sign in to the Windows 10 to get the change.

Now, as your Start Menu has been ditched, if you want to remove the Start Menu button completely from Windows 10, do follow the following steps.
How to Remove Start Menu Button from Windows 10
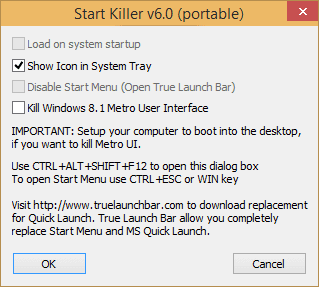
Now, you have to use a freeware that is called StartKiller. This software is available for Windows 10 and Windows 8.1. You can download either the installer or the portable version. If you want to try it once, the portable version would be working fine. However, if you really wish to remove or hide Start Menu button, I would suggest you to use the installer. Anyway, at first, download the StartKiller. Open the ZIP file. You will get 32-bit version as well as 64-bit version. Do open the file according to your system. If you have downloaded the portable version, only double click is required to hide the start menu.You will also get some options to set it up as per your requirements. You can get the StartKiller settings in your system tray. Just expand your system tray and right-click on the corresponding button. After that, open the “Settings”.
You can show/hide the StartKiller icon in System Tray, enable/disable it on start-up etc.
To be honest, Windows 10’s Start Menu is very useful. Nevertheless, if
you do not like it, the solution is here. Instead of having an unnecessary
button in your small Taskbar, it is far better to hide it.


